Does anyone else struggle with Lego storage? My six-year-old son loves Legos but once a set is complete, we have nowhere to display them. This is why I decided to start looking for an under-bed Lego storage container or display board. As I searched for options online, I only found taller Lego tables that wouldn’t fit under a bed, and those that did contained minimal display space. Everything I found wasn’t exactly what I was looking for and it came at a high price tag, so I decided to make my own.
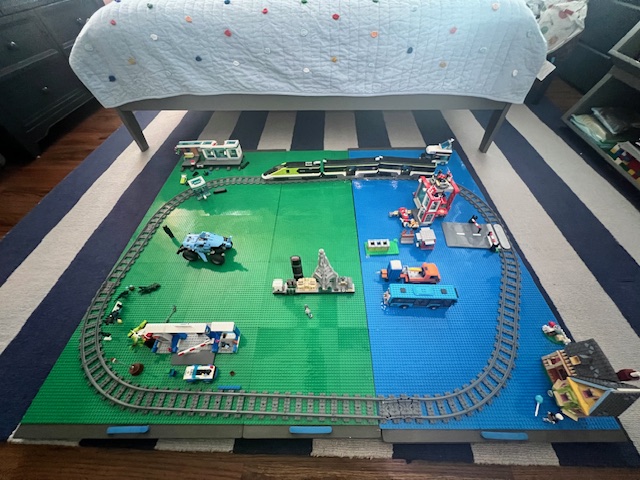
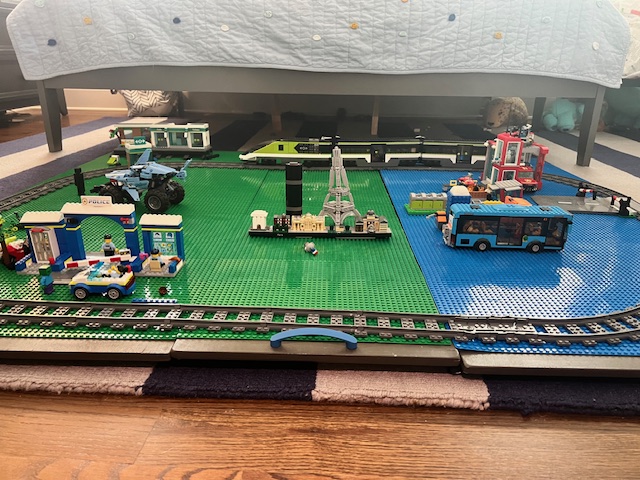
Our dream was to build a space for our Lego town since my son had just gotten the Lego train and train station. A large flat space would allow for his town to remain built and stored efficiently.
First measure! Everyone has personal preferences, but I was looking for a Lego display table that could slide under my son’s bed and be as large as possible. Upon looking under my son’s bed, I discovered he had support posts in the middle of his bed which hindered my idea for a large display area, so we pivoted. To fit between the support posts and maximize display space, we needed to create three pieces that could still connect together.
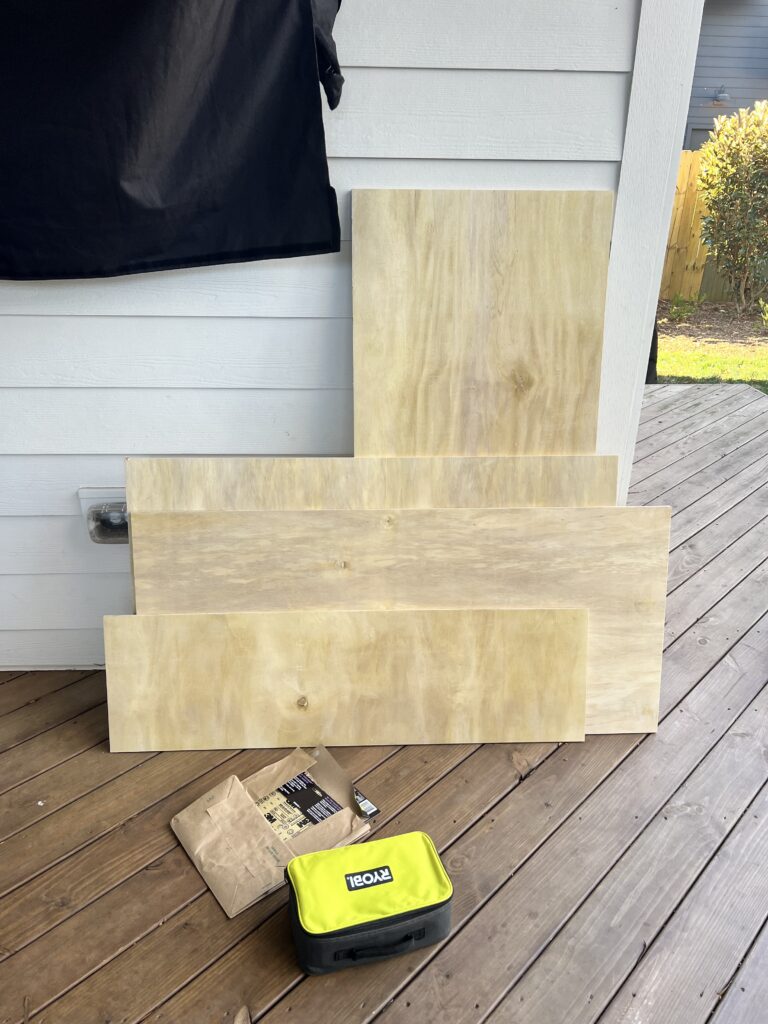
Our right and left pieces are 53’ deep and 24’ with the center being 50’ and 14’ wide. The reason that our center is a little shorter is simply because we ran out of wood, and I didn’t want to buy a whole second sheet (at an additional $50) for our thinnest or center piece. You’ll see how I fixed this size issue later.

Shop Wood! The boys and I ventured off to our local home improvement store in search of a plywood type wood board. When selecting your wood, consider something about a ¼ thick as this will allow for display of taller Lego sets (remember this has to roll under the bed) and is not flimsy. Secondly, look for smoother woods to avoid splinters. We ultimately selected a ¼ thick white oak. If you’re like our family, we don’t have a saw so utilized the free cutting skills offered by our local home improvement store. I just handed him over my dimensions page and boom, we had three pieces.
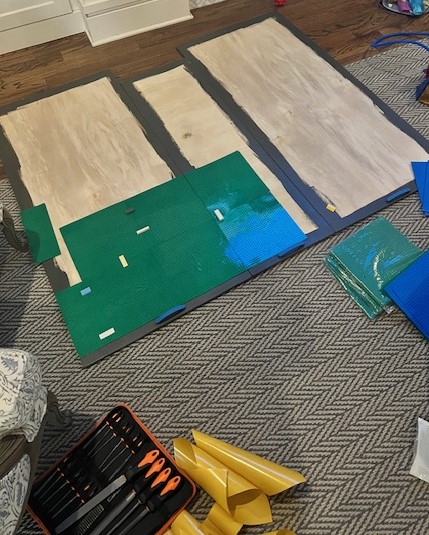
Smooth Edges! Once we got home, I realized that after cutting the wood that the edges weren’t smooth and corners were sharp, so I sanded all four sides and rounded the corners. I used this hand sander to complete this step within minutes, but you could use sandpaper.
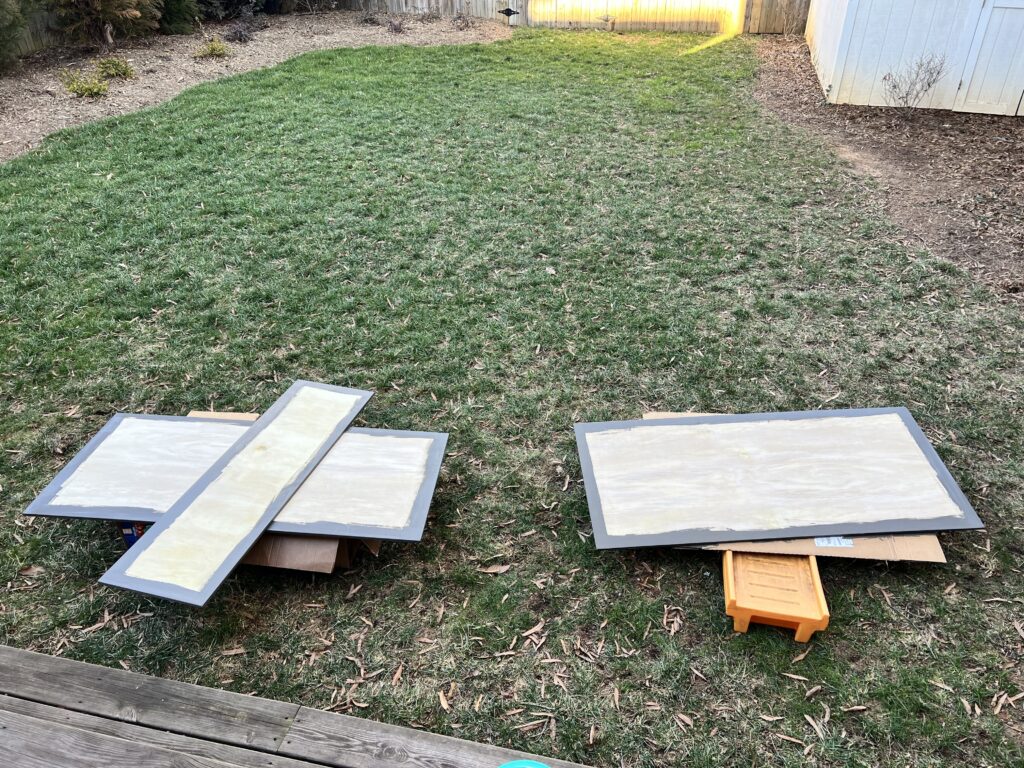
Paint the Sides! You could certainly opt to skip this step, but I wanted the edges to have more of a finished look. I simply used leftover paint that I had in the closet, but you could opt for a fun primary color to match your Legos. Remember, you only need to paint the sides and a small trim area on top.
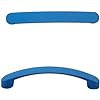
Add Handles! If you think about pulling and pushing these boards under the bed, handles are super helpful. This is where you could use something sitting around the house or find something fun! I wanted a childlike handle that was a primary color so opted for these handles which come in blue or yellow.
Apply ‘Lego’ Square Brick Plates! We were going for a land and water look for our town, so I purchased these peel-and-stick Lego compatible brick plates in blue and green. They come in a 4 pack so measure your space to see how many you’ll need. We ended up using 5 packs of green and 4 packs of blue with a few squares leftover. Applying these brick plates is a very tedious process so take your time, trust me. My son wanted to help and be a part of this step so I let him hand me pieces and pull the sticker backs off, but I would recommend adults only for applying the brick plates squares. The most important part to ensure the pegs line up from plate to plate. If the pegs don’t line up, larger Lego displays spanning over multiple plates wont snap onto the display. The best way to achieve this is to grab some long spare Lego pieces and snap them on the edges of a plate with half hanging off the square. Carefully line the pegs up and snap the hanging Lego piece onto the plate that is already affixed to the board. This technique will ensure that the pegs line up. Given the size of our boards, we needed to cut the brick plates with a razor blade. This was a little tedious, but not too difficult. I found the brick plate edges to be sharp after cutting them so used a File Tool Kit to smooth rough edges. Filing creates a little mess of dustings so be sure to hold over a trashcan or stand outside for this part.
Latch Together! My son wanted to run his Lego train around his Lego town, so we opted to install small latches on the underside of the boards which keeps the boards tight together during play. You want to be sure to install a latch or clasp that your child can operate so consider their abilities before purchasing. The other thing to keep in mind is you’ll need a small latch or clasp with short nails so that you don’t drill thru your ¼ thick board. Ultimately, we selected this latch and my six-year-old has no issues operating himself. We opted to install 6 latches – 3 on each side
Stick on Wheels! My son’s room has a rug under the bed, so we needed to put wheels on the boards to make them easier to slide under the bed. When shopping for wheels we looked for low profile to maximize height between the boards because at the end of the day, the goal was to store built Lego buildings in our town. If your wheels are too high, you are wasting space for your buildings. We opted for these wheels since they checked our first requirement for height and didn’t require screws. My son loved pulling the sticker backs off and applying the wheels. I’d say there is no real strategy on placement of the wheels, but you do want to ensure that all sections are supported evenly. We needed 5 packs of these since you need at least 5 per board- 4 corners and the center.
Enjoy! Lastly, enjoy your new Lego town and the fact that you can simply hide it under the bed when not in use. Mom goals!
Also don’t sleep on this Lego storage brick drawer! It can be stacked on top of others bricks which is super cute. My son stores his town people, animals and pretend Lego play items in here.